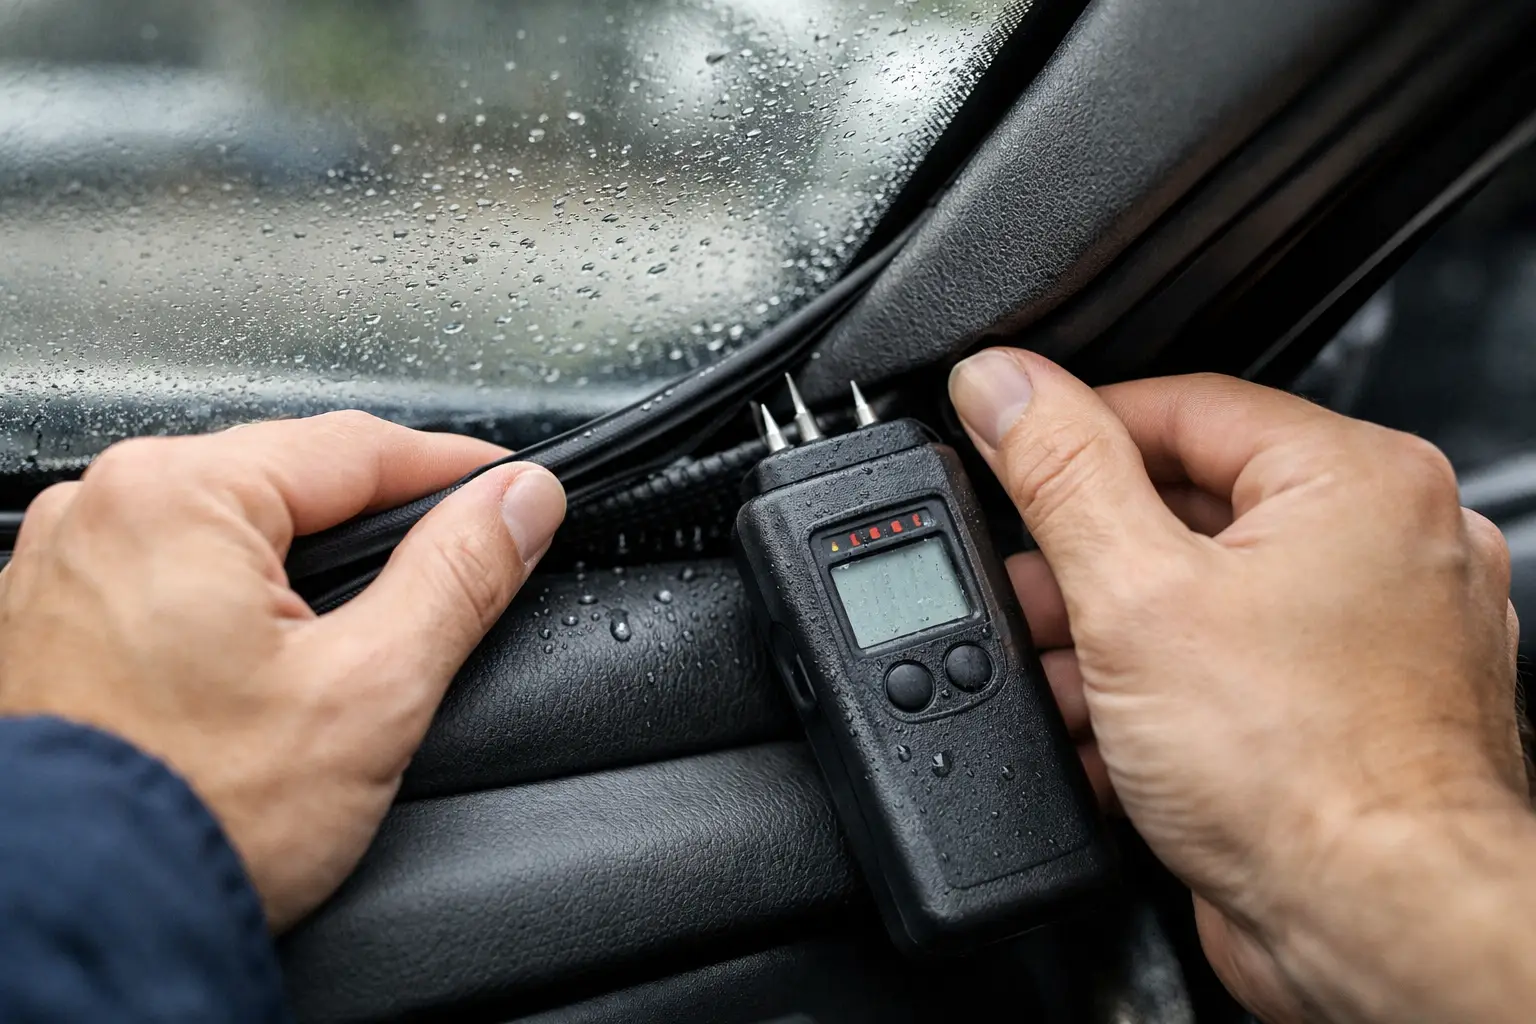
A wet front floorboard after a North Texas downpour is not always a windshield problem. But if moisture appears along the headliner, down the A-pillars beside the windshield, or under the dash after rain or a car wash, it is time to learn how to check windshield leaks before mold, electrical issues, or interior damage get worse.
A windshield leak can be small enough to miss at first. Water may travel behind trim panels and show up several inches away from the actual opening. The goal is not to flood the vehicle or guess at the repair. It is to narrow down where water enters, rule out common look-alikes, and get the glass inspected when the seal or installation is the likely cause.
Signs Your Windshield May Be Leaking
The most obvious sign is water inside the vehicle after rain, but the location of that water matters. Dampness at the top corners of the windshield, a sagging headliner near the glass, or water trails on the inside of the A-pillars often point toward a windshield perimeter leak. You may also notice a musty smell, foggy windows that take too long to clear, or unexplained moisture under the front carpet.
Pay attention to when the problem happens. If it only appears after heavy rain, a leak around the windshield, roof seam, or cowl area is possible. If it happens after running the air conditioner on a dry day, the A/C drain may be clogged instead. Water that appears after washing the vehicle can be useful evidence because it lets you repeat the conditions without waiting for the next storm.
A recently replaced windshield deserves extra attention. A new windshield should sit evenly and be bonded with a continuous urethane seal. Gaps, loose molding, wind noise at highway speed, or a visible uneven edge around the glass can indicate an installation issue that needs professional correction.
How to Check Windshield Leaks Safely at Home
Start with a dry vehicle. Park in a shaded, level spot if possible, and remove loose items from the dashboard and front floor area. Place dry paper towels along the inside edges of the windshield, at the top corners, and near the lower dash. Paper towels show small drips more clearly than carpet or dark trim.
You will need a garden hose, a helper, a flashlight, and a dry towel. Do not use a pressure washer. High-pressure water can force its way past seals that would not leak in normal rain, and it can make the source harder to identify.
Inspect the windshield from outside first
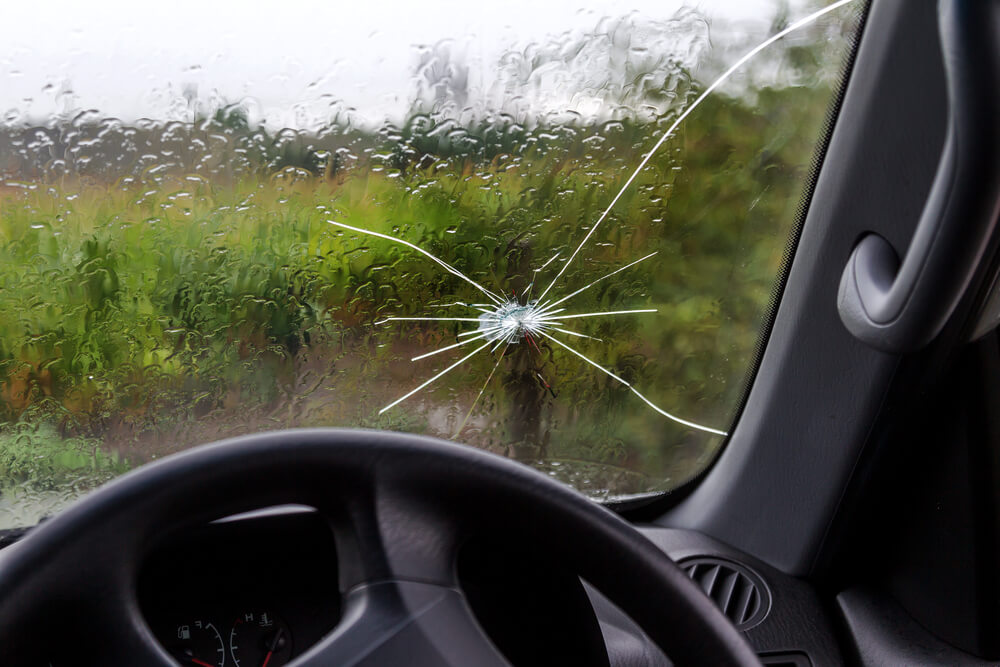
Before adding water, look closely at the outer edge of the windshield. Check for lifted or cracked molding, missing trim clips, visible gaps, rust around the pinch weld, and cracks that run all the way to the edge of the glass. The pinch weld is the metal frame the windshield bonds to. Rust there can prevent the adhesive from sealing correctly.
Also inspect the area below the windshield where leaves and debris collect. This is called the cowl area. Clogged cowl drains can allow water to back up and enter through fresh-air vents or other openings, creating symptoms that look like a windshield leak.
Use a controlled hose test
Have one person sit inside the vehicle with the flashlight while the other uses the hose outside. Begin low, not at the roof. Run a gentle stream across one small section at a time for about 30 to 60 seconds. Start near a lower corner of the windshield, then move gradually up each side and across the top.
The person inside should watch the paper towels, windshield edges, A-pillars, and underside of the dashboard. As soon as water appears, stop the test and mark the outside section being sprayed. Moving slowly is what makes this test useful. If you soak the entire vehicle at once, water can run across multiple panels and hide the true entry point.
If no water appears during a low-pressure test but the vehicle leaks during storms, repeat the process around the upper corners and roofline. Wind-driven rain can reach areas a simple hose test does not. Still, avoid spraying directly into door seams, roof racks, or sunroof channels unless you are testing those areas separately.
Check for water travel, not just the first wet spot
Water can run behind trim and wiring before it reaches the carpet. A wet passenger floor, for example, may come from the windshield, a blocked cowl drain, a sunroof drain, or an A/C drain. Feel the headliner and pillar trim carefully for dampness. Look for water marks, discoloration, or a drip path that starts higher than the wet area on the floor.
Do not pull on airbag-equipped A-pillar trim or remove windshield molding yourself. Many newer vehicles have side-curtain airbags, cameras, sensors, and clips that are easy to damage. A visual inspection and controlled water test are enough to gather useful information without creating another repair.
Common Problems That Can Look Like a Windshield Leak
Not every front-cabin water problem comes from auto glass. Knowing the difference can save time and help you explain the issue clearly when scheduling service.
A clogged cowl drain often causes water near the passenger-side floor or behind the dashboard. Leaves, pine needles, and dirt can trap water below the windshield. A sunroof drain issue may cause wet headliner material near the front corners, especially after rain. Door weatherstripping problems tend to leave moisture near the side of the cabin or door sill rather than directly along the windshield frame.
A leaking heater core can create damp carpet and a sweet smell, while a clogged A/C drain usually causes water after the air conditioner has been running. If the moisture feels oily, has color, or smells like coolant, do not assume it is rainwater. That is a different repair issue.
The windshield itself is more likely to be the source when water enters after rain or washing, the moisture begins high along the glass edge, or there is obvious damage to molding, urethane, or the surrounding metal.
When a Windshield Leak Needs Professional Repair
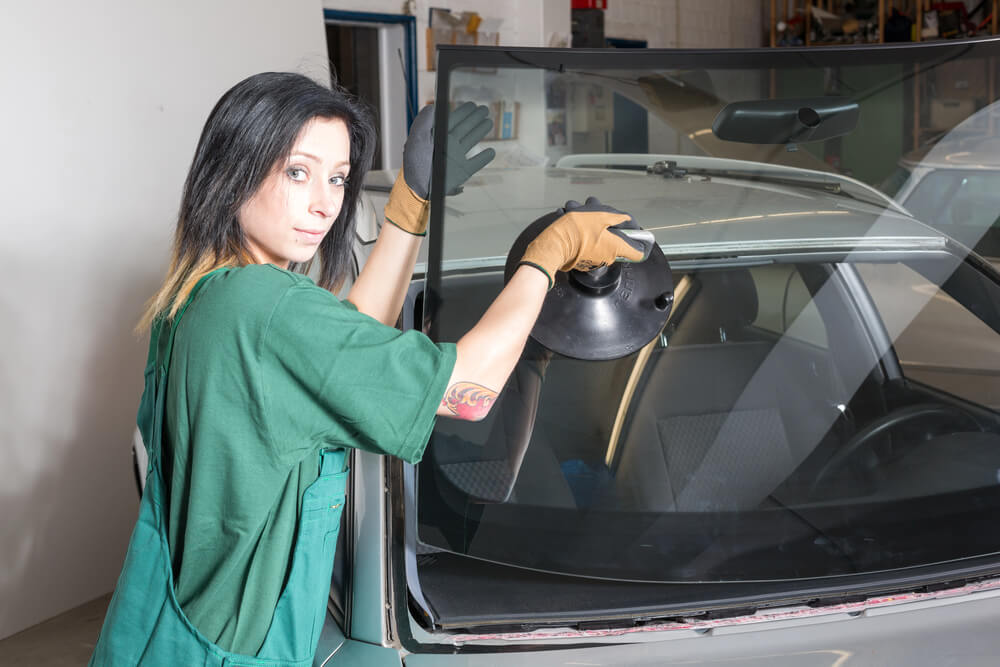
A windshield is part of your vehicle's safety structure. It helps support the roof in a rollover and provides a mounting surface for airbags in many vehicles. That is why sealing a leak with hardware-store silicone is rarely a good long-term fix. Silicone can trap moisture, hide corrosion, interfere with future windshield replacement, and fail again when temperatures change.
Professional inspection is the right move when you see rust around the windshield frame, a loose windshield, a crack reaching the edge, recurring water intrusion, or water near electrical components. Modern windshields may also contain cameras and sensors used for lane departure warnings, automatic braking, or rain-sensing wipers. A replacement may require calibration after installation.
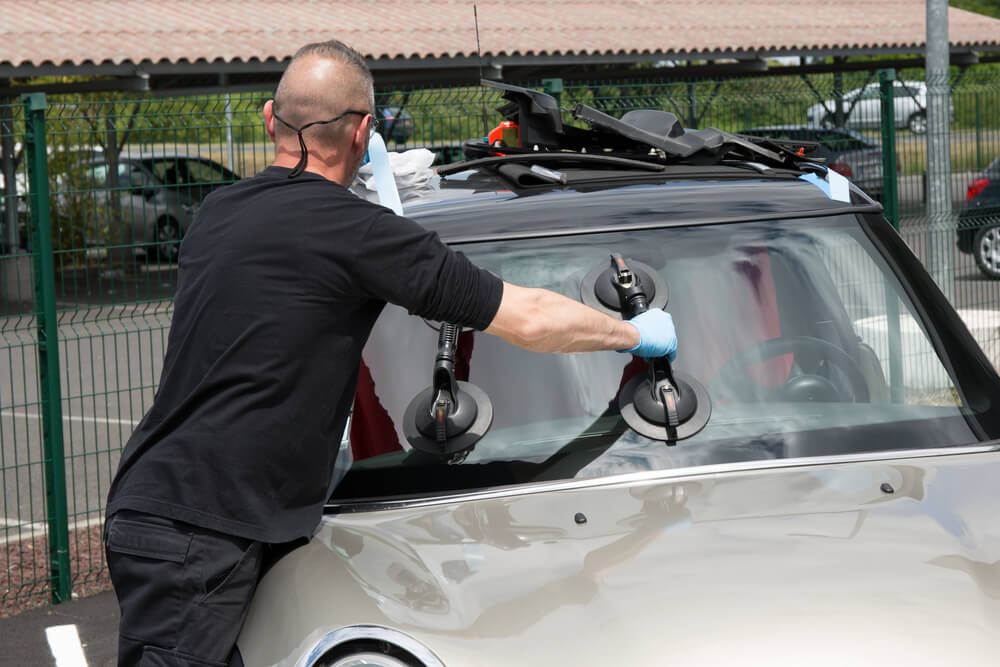
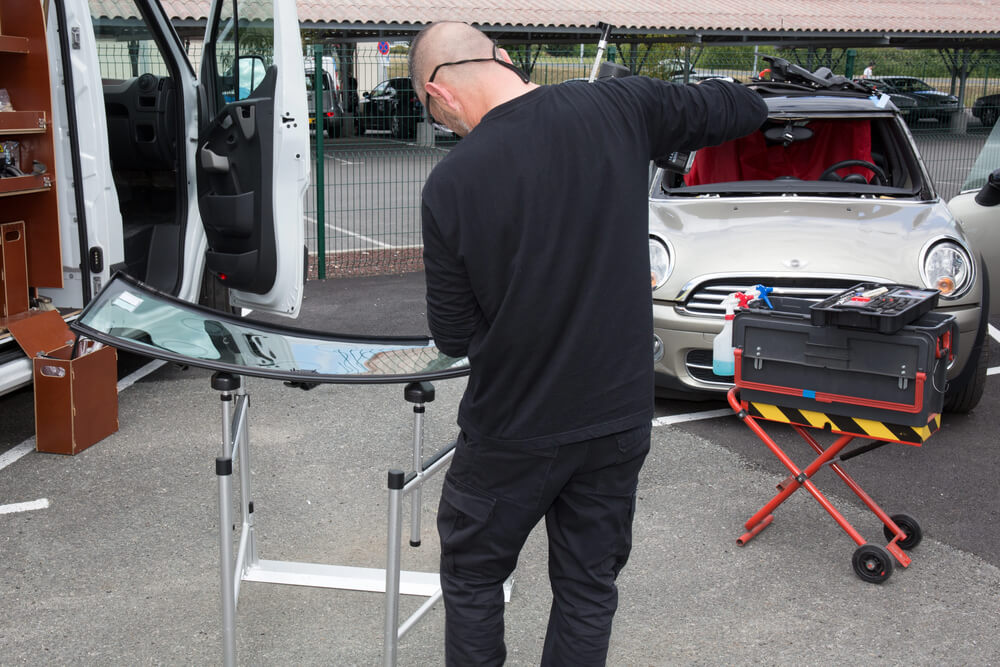
Sometimes the repair is limited to correcting exterior trim or addressing a small sealing issue. Other times, the windshield must be removed so the technician can inspect the pinch weld, remove corrosion, and apply new adhesive properly. It depends on the condition of the glass, the bond, and the metal underneath. A leak caused by severe rust will not be solved by adding more sealant around the outside.
For busy drivers in Dallas, Addison, Richardson, Irving, Fort Worth, and nearby areas, mobile auto glass service can make that inspection easier. Mid Cities Auto Glass can assess windshield leak concerns where your vehicle is parked, helping you avoid driving with a damp interior or loose glass when the problem needs attention.
Protect the Interior While You Arrange Service
Dry the area as soon as you find it. Blot wet carpet and upholstery with towels, remove floor mats, and leave doors open in a secure, dry location if conditions allow. A fan or dehumidifier can help pull moisture out of the cabin. Do not ignore damp carpet simply because the rain has stopped. Moisture underneath the carpet pad can lead to odor, mildew, and corrosion over time.
If water is near fuse panels, dashboard electronics, or visible wiring, avoid repeatedly testing the leak and arrange an inspection promptly. Take a few photos of the wet areas and note whether the leak happened during rain, a wash, or A/C use. Those details make it easier to diagnose the source and choose the right repair.
A small drip is usually easier and less expensive to address than a soaked interior. Check methodically, avoid temporary sealant shortcuts, and act while the evidence is still visible.